One of the main causes of guitar playability issues is the guitar nut height. Find out how to solve this problem quickly, easily and cheaply.
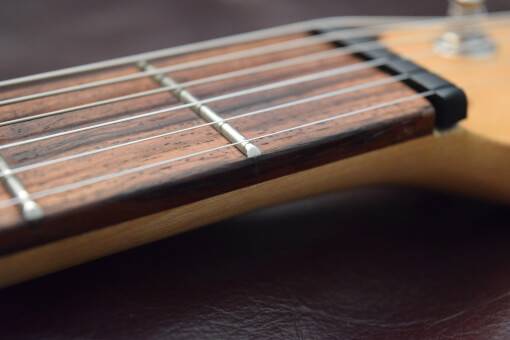
The guitar nut height on my Yamaha Pacifica 112J needed serious attention. The three wound string were fine, but as you can see from the pic below, the nut height increased dramatically for the top three strings. This meant I had to drastically over-compensate at the bridge end (see second pic).
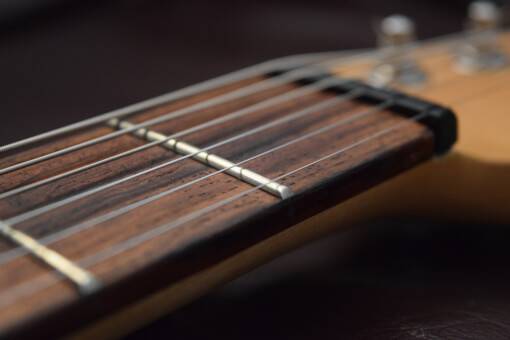
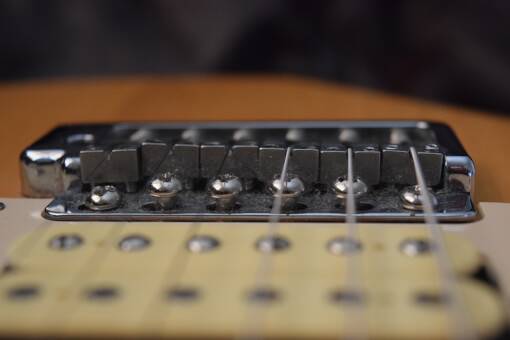
I could’ve spent a fortune on expensive nut files, but it’s a fiddly job best handled by a professional. Luckily, there’s a much easier and cheaper way to sort the problem.
Tools and Materials you’ll need
- Some course sandpaper – Medium will do but it’ll require more elbow grease.
- A Wooden Sanding Block – Non-wooden will do but again, it’ll require more elbow grease.
- A hand vice, or a normal small vice if your lucky enough to own one.
- A sharp knife or small hammer depending on if it’s a Gibson or Fender style nut.
- Superglue – To re-attach the nut.
- A spare guitar nut – In case you go too far, mess it up and need to start again.
Step 1. Remove the Nut
For GIbson-style nuts, work away at the glue with a sharp knife. Fender-Style nuts can be knocked out with a will placed hammer strike.
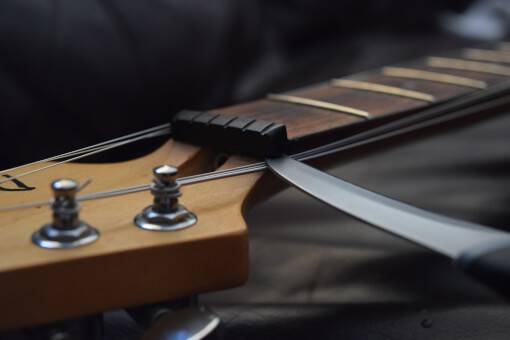
Step 2 – Break out the Hand Vice
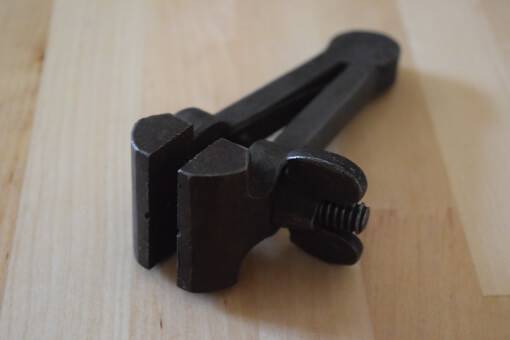
I picked this up for £3 at a market and it’s the perfect tool to hold the nut accurately and securely for sanding. Of course if you already have a small vice, read on.
Step 3 – Position the Guitar nut in the vice
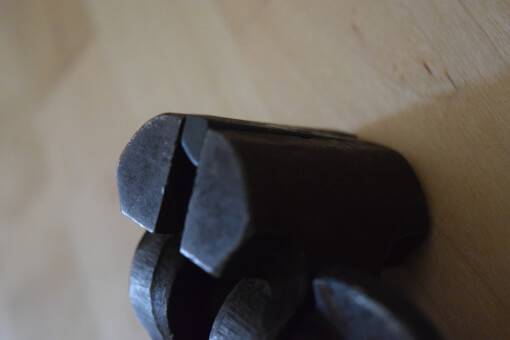
You want to be sanding the bottom of the guitar nut, so be very careful you have positioned it correctly in the vice. We are dealing in fractions of a millimetre here. In my case I didn’t want any nut material removed from the bass end, but a gradual reduction in height up to the treble strings, so I made sure only a tiny piece of nut material (on the treble side) protruded up from the vice.
Step 4 – Dig out the Sandpaper and Sanding Block
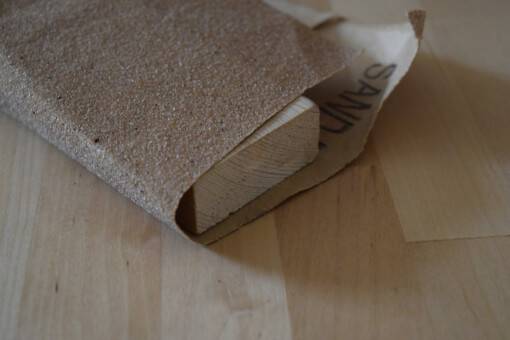
Surely everyone has these in one of their cupboards. Nothing to worry about here, just use what you can….
Step 5 – Sand the guitar nut
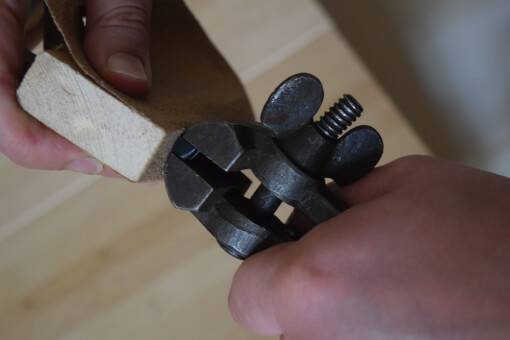
The vice allows you to just go for it and be as aggressive and messy as you like. This should be a 30 second job with coarse sandpaper and a wooden block, longer the finer the sandpaper and the softer the block gets.
Step 6 – Admire your handiwork
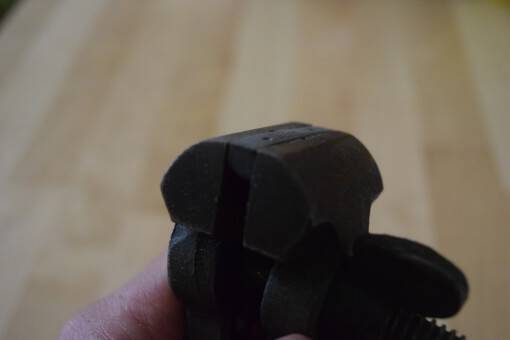
Does the bottom of the nut look nice and level in the vice? Good. Job done!
Step 7 – Re-install the guitar nut
Just a small dot of glue is all you need to hold the nut in place. Now just re-string and tune up your guitar and we’re done.
Take a close look at the before and after pictures to see a clear lowering of the action over the first fret on the treble side.
*Of course, your guitar nut may need to be lowered on just the bass side, or both, but all the same tips apply.
To sum up, here’s some benefits you’ll gain with your new perfectly setup guitar nut…
- Open chord fretting requires far less effort.
- Depending on the original height, Open chords may appear to sound more ‘in-tune’ due to the strings bending less distance to the fret.
- The guitar well become easier to setup in general making that super-slinky low action achievable.
This site was… how do I say it? Relevant!! Finally I have found something that helped me. Kudos!
This is the exact opposite way to do this!!! Please no one listen to this as you will surely mess up the nut. Ask any REAL luthier and they will tell you to lower the strings by the slots.
Hi Brent. Valid points but not slot filing is much more difficult, expensive (nut files are VERY expensive(, and time consuming. My artilcle describes a way to lower a nut quickly and cheaply. if you need to get the strings down to the perfect optimal height, then, of course, filing the slots is the answer, but if the nut is new, the base is flat and you’re only looking to take the whole thing down a peg or two, there’s no reason why you shouldn’t at least start/try with this method before fine tuning if needed.
If you are in doubt, always take it to a luthier, but on a £150 Yamaha Pacifica? I decided to give it a go, and it worked so I decided to share.
Appreciate the comment, maybe I should have explained in the article, and thanks again.
Hi Ron.
Thanks for stopping by…
This particular blog details how to make a very minor correction to the nut height on one side. It worked perfectly, but I agree, if you were dong this to fix a more major issue then specific measurements may come into play, to give you a reference point at least.
Also worth saying that, for more expensive instruments. take it to a guitar tech!
So the proper string height in relation to the fret board is essentially ‘on a wing and a prayer’ ? Do NOT use this methodology.