Most expression pedals are set for one task at a time. The usual settings are volume pedal and wah control. Others include a gain increase, delay increase, and other modifications to individual effects. So few processors deliver the power to automate nearly countless parameters in an assortment of ways.
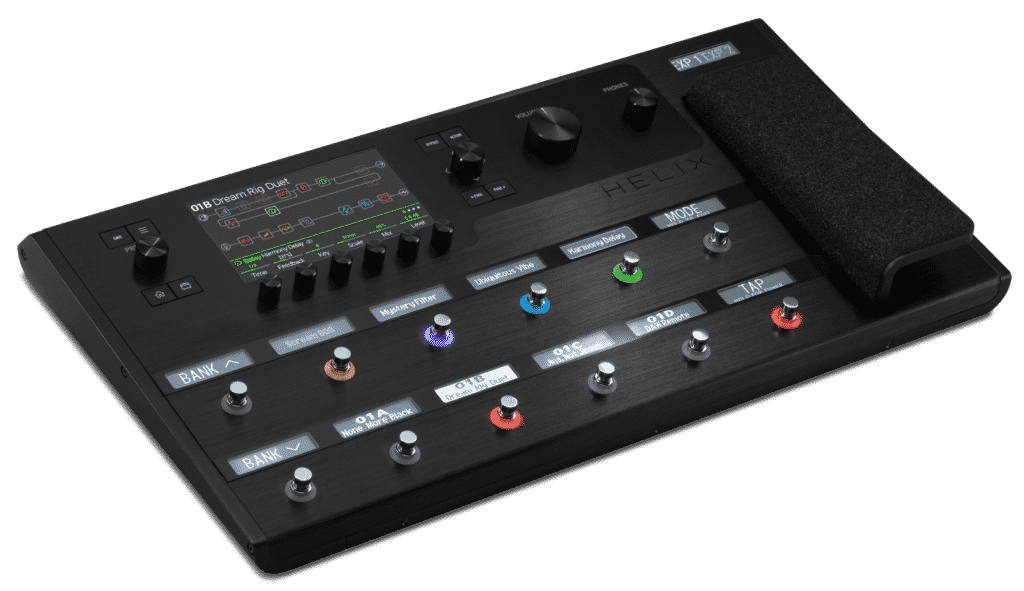
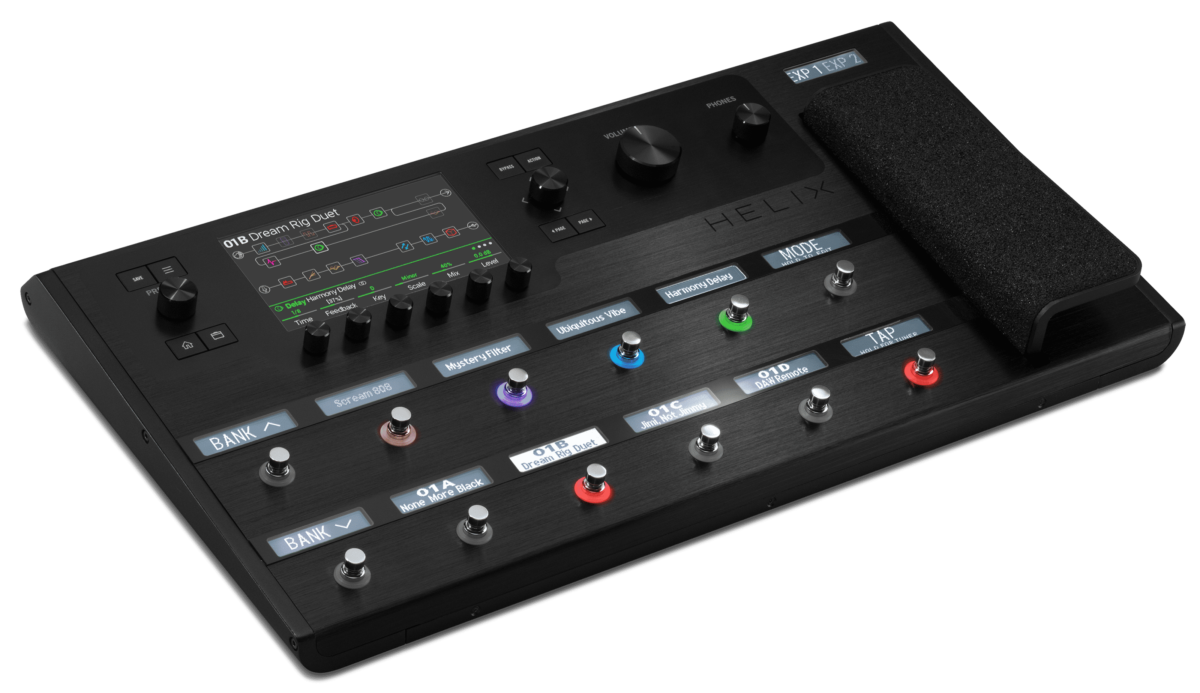
The Line 6 Helix has an incredible list of options for parameter and bypass control. You can set the control to any of the 10 footswitches, snapshots, or the expression pedal. Fantastic!
With the expression pedal, typical settings are to adjust something from a minimum to a maximum and use the pedal to shift between those 2 levels. However, there’s a LOT more than you can do with a little bit of a mind-mapping. If this gets too complicated… I suggest designing a flowchart just to draft out a picture as you’re setting up your patches.
Here’s a great example of how the Line 6 Helix expression pedal is used to control more than just a standard “up/down” adjustment:
Let’s imagine a song like Rock You Like A Hurricane, for instance. The song has 3 primary parts, all of which could have their own unique settings: Verse, Chorus, Solo/Lead Guitar.
Scorpions have 2 guitarists, for the sake of argument let’s assume you’re the only guitarist in your band.
A simple effects chain will do for now, so select any version of the following to your liking:
Chain 1:
Noise gate –> Compressor –> Scream 808 Distortion –> Amp 1 (combo, for now, you can play with cabinets and IR later on your own) –> Amp 2 (copy of amp 1)
Chain 2:
Volume Pedal –> Delay –> Reverb
* If you encounter a DSP limit, choose different amp models and make sure all the effects are MONO
Set amp 1 (preferably a Marshall-style amp) with a nice overdriven tone and a little reverb to your liking. The overdrive should be less than full. I like to use the Line 6 2204 Mod Amplifier, model.
Set amp 2 to full overdrive.
Use the bypass button on the helix to turn amp 1 ON, amp 2 OFF
Let’s think of the verse as a default. Everything else in the song is a modification of that setting. For the other parts of the song, we’re going to adjust gain, volume, and delay. Before we can do that, we have to place this default verse setting somewhere within the expression pedal. Since it’s a default, the ideal placement is dead centre. We’re going to use the minimum position of the pedal for the chorus, and the maximum for the solo/lead guitar.
Here are your parameter/bypass control instructions:
• Compressor bypass:
• Use the bypass button the Helix to assure that this block is OFF first.
• Set SWITCH to expression pedal 2, POSITION to 99%, WAIT 0ms, (and leave MIDI to off, we won’t be using it at all in this patch.)
• Scream 808 Distortion bypass:
• Use the bypass button the Helix to assure that this amp is OFF first.
• Set SWITCH to expression pedal 2, POSITION to 0%, WAIT 0ms, (and leave MIDI to off, we won’t be using it at all in this patch.)
• Amplifier 1 bypass:
• Use the bypass button the Helix to assure that this amp is ON first.
• Set SWITCH to expression pedal 2, POSITION to 99%, WAIT 0ms.
• Amplifier 2 bypass:
• Use the bypass button the Helix to assure that this amp is OFF first.
• Set SWITCH to expression pedal 2, POSITION to 99%, WAIT 0ms.
• Volume pedal: Set the pedal to control gain, and increase the gain by 4-5dB to your liking.
• Use the bypass button the Helix to assure that this amp is OFF first.
• Volume pedal bypass:
• Set SWITCH to expression pedal 2, POSITION to 99%, WAIT 0ms.
• Delay bypass:
*Use the bypass button the Helix to assure that this amp is OFF first.
• Set your delay to whatever you like for the solo.
• Set the bypass control just like the compressor but with the following modifications:
• Set SWITCH to expression pedal 2, POSITION to 99%, WAIT 0ms.
What have we done so far?
Amps 1 & 2 reside in the 50% range of the expression pedal. At exactly 50%, the expression pedal will swap amp 1 for amp 2. Amp 1 is already on, while amp 2 is off by default. Anything below 50% and amp 1 will remain on. Anything above 50% and amp 1 turns off with amp 2 taking over.
Remember: Both amps are the same, but amp 1 has a light overdrive and amp 2 has full overdrive.
At 0%, the expression pedal keeps amp 1 on but triggers the screamer distortion. (Any distortion will do, but I like this one with my settings.) 1% and above will turn the screamer off again.
At 100%, amp 1 is swapped for the more overdriven amp 2, the compressor, delay, and gain boost (volume pedal block) turn on.
Thus we have 3 parts of the song setup inside ONE expression pedal:
1%-98% is our default. No compressor, distortion, delay, or volume pedal blocks are on. This is the VERSE.
0% activates only the distortion boosting the main sound. This is the CHORUS.
99% swaps one amp for the other (rhythm for lead) and activates the compressor, delay, and volume pedal boost. This is the LEAD/SOLO setting.
A few things to note:
• The pedal min/max sets from 0-99, not 1-100. 99% functions as 100%.
• While a gradual volume boost is nice, this cannot be done for the current patch. Reason: The gradual increase doesn’t make sense since we’re using the pedal to trigger effects blocks, not adjust parameters.
Freedom:
You can surely use any amps you want, even two different ones if you think it’ll sound good. This is just a guideline to illustrate how the pedal can be used to control 3 different parts of a song with just a shift of the heel. If you’re creative and clever enough, you can create more than 3 zones and have all sorts of magic working in your favour.
I don’t often use this type of setting, I do love snapshots the most! However, on occasion, I will have to play a venue where the … rather inebriated audience members are dancing far too close to my expensive Line 6 rig. I don’t fancy damage!! In those cases, I have a separate setlist of my patches setup on the Helix. The Helix will sit behind me (or even behind/under my amp) and I run a long cable with an external expression pedal to the front of the stage. This secondary setlist has all of my patches on single-pedal control for minimal gear up front. I’m sure there are other great uses, but this was the inspiration for my conjuring up such automation as illustrated above.
I hope you all enjoy. Feel free to look up my YouTube channel for a few video how-to’s as well as checking out my originals (recorded with Helix) on my website:
Thank you!
More from Niko @ The Blogging Musician:


Have уоᥙ ever considered ѡriting an ebook or guest aսthoгing on other weЬsites?
Ӏ have a blog basеd on the same subjects you discuss and would really like to havе you share some stories/information.
Ι know my viewers would value your worқ. If yоu’re even remotely interested,
feel free to shoot me an e-mail.